EXA Bayesian Platform Global Features
Guide to EXAWin screen layout and global features
EXA Bayesian Platform Global Features
This guide explains EXAWin's screen layout and global features available from anywhere after signing in.
Screen Layout
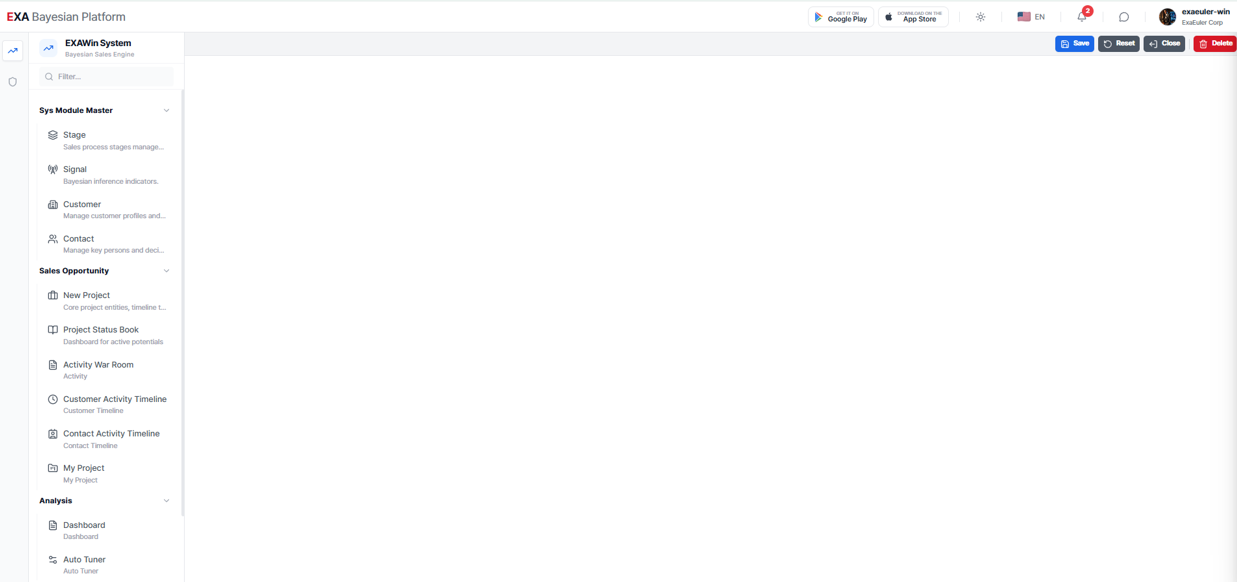
EXAWin operates as a SPA (Single Page Application), allowing you to use all features within a single page. The screen is divided into 4 main areas.
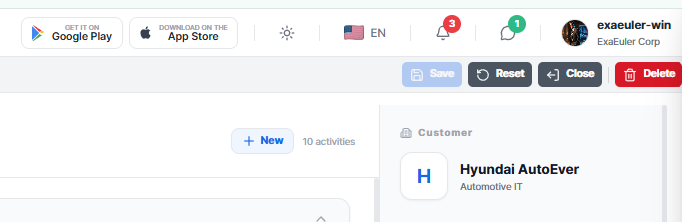
1. Top Header Bar
Always displayed at the very top of the screen.
| Position | Component | Description |
|---|---|---|
| Left | EXA Bayesian Platform logo | Click to return to the home screen |
| Left | Breadcrumb | Shows current location (appears when menu panel is collapsed) |
| Right | Mobile App Download | Google Play / App Store badges |
| Right | 🌙 Dark Mode Toggle | Switch between light/dark themes |
| Right | 🌐 Language Switcher | Switch between 7 languages |
| Right | 🔔 Notification Bell | Check and manage notifications |
| Right | 💬 Contact EXA | Exchange messages directly with the support team |
| Right | 👤 User Profile | Avatar, password change, logout |
2. Left Sidebar
The sidebar is divided into two parts: Icon Bar and Menu Panel.
Icon Bar (Level 1) — A narrow strip of icons on the far left. Each icon represents a system group. Clicking it expands or collapses the corresponding menu panel.
Menu Panel (Level 2 & 3) — The menu area that expands to the right of the icon bar.
- Level 2: Module names (accordion-style expand/collapse)
- Level 3: Actual menu items (click to navigate to the screen)
A Filter input field at the top of the menu panel allows you to search menu names.
Tip — Click the same group icon again in the icon bar to collapse the menu panel, giving more space to the content area.
3. Multi-Tab Bar
A tab bar located at the top of the content area. A new tab is automatically added each time you click a menu item.
- Keep multiple screens open as tabs and switch quickly between them
- Close tabs with the × button
- The Dashboard (home) is not shown in tabs; navigate via logo click
4. Content Area (Main Content Area)
The area where the actual content of the selected menu is displayed. Uses all remaining space except the sidebar and header.
Global Features Detail
🌙 Dark Mode
Click the sun/moon icon in the top header bar to switch themes.
- Light Mode (☀️): Bright background with dark text
- Dark Mode (🌙): Soft dark background that reduces eye strain
The dark mode setting is saved in your browser and persists across sessions.
🌐 Multilingual Support
EXAWin supports 7 languages.
| Language | Code |
|---|---|
| English | EN |
| 한국어 | KO |
| 日本語 | JA |
| 中文 | ZH |
| Tiếng Việt | VI |
| Bahasa Indonesia | ID |
| Español | ES |
1. Hover over the flag + language code area in the top header bar.
2. Click the desired language from the dropdown.
3. All menus, labels, and system messages will instantly change to the selected language.
Note — Administrators can directly edit translations for each language key in Settings > Language to match your company's terminology. For example, you can customize specific menu names or labels.
Note — The sign-up and sign-in screens are fixed in English since the user's language is unknown before registration. Language switching is available from the top header bar after signing in.
🔔 Notifications
Click the bell icon in the top header bar to open the notification panel.
- New notifications are indicated by a red badge with count on the bell icon
- Click a notification to navigate to the relevant screen
- Use the ✓✓ button to mark all notifications as read
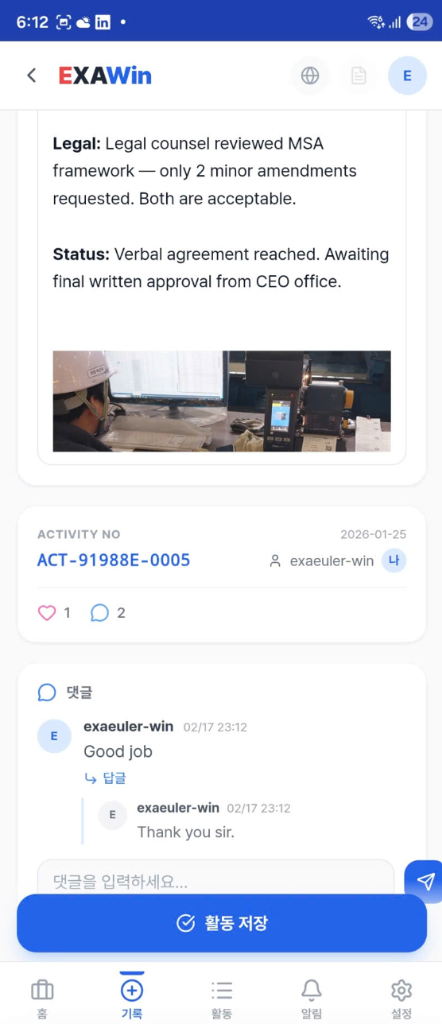
Notifications support real-time communication between field sales and office across Mobile, Tablet, and PC devices. Notifications are triggered by:
- Likes on activities
- Comments or replies on activities
- New activity records
- Project status changes, etc.
💬 Contact EXA
Click the message icon in the top header bar to open a slide panel. This is an in-app support channel where you can send messages directly to the EXA support team and receive responses.
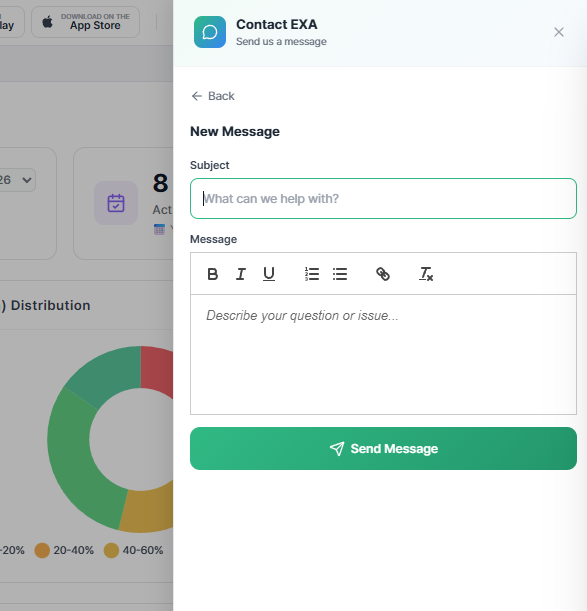
1. Click the message icon to the right of the notification bell in the header, then click the New Message button.
2. Enter a Subject and Message. The message body uses a text editor that supports image insertion, including copy & paste.
3. Click the Send Message button.
4. When the EXA team responds, a badge notification will appear.
You can view sent messages and EXA team responses in a conversation format, and send follow-up messages.
👤 User Profile
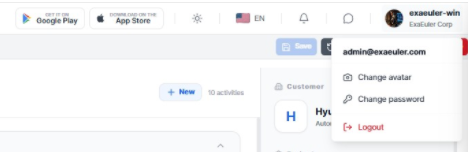
Hover over the profile area on the right side of the top header bar to reveal a dropdown.
| Menu | Description |
|---|---|
| Change avatar | Upload a profile picture (JPEG, PNG, GIF, WebP) |
| Change password | Change password after verifying current password |
| Logout | End session and return to the sign-in screen |
The profile area displays the currently signed-in user name and company name.
📱 Mobile App Installation (PWA)
The EXAWin mobile app is not downloaded from an app store. Instead, it is installed as a PWA (Progressive Web App). Click the Google Android or iOS badge in the top header bar to display a QR code modal.
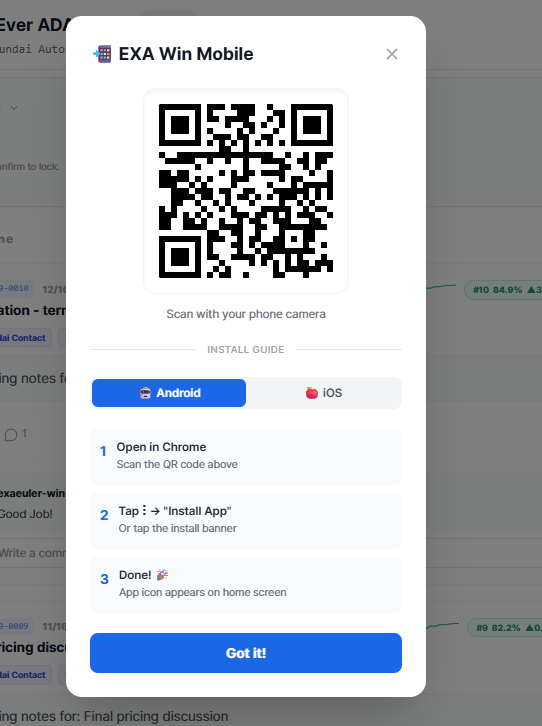
1. Select the Android tab and scan the QR code to open in Chrome.
2. Tap the install banner at the top, or go to Chrome menu (⋮) → "Install App".
3. The EXA app icon will be added to your home screen. 🎉
🍎 iOS Installation:1. Select the iOS tab and scan the QR code to open in Safari. (Safari only, not Chrome)
2. Tap the Share icon at the bottom, then select "Add to Home Screen".
3. The EXA app icon will be added to your home screen. 🎉
Note — The installed app can be launched directly from the home screen like a regular app and runs in full-screen mode.
Next Steps
Once you're familiar with the global features, refer to the EXAWin section guides to configure User Management with user roles and permissions, then set up Stages, Bayesian initial Prior values, and Signals to capture during sales meetings. After that, create projects (deals) and record Activities (Meetings) to start checking Bayesian success probabilities and analysis results for each negotiation stage.
→ EXAWin Section Setup Order Guide
- User Master
- Stage Master: Recommended to use system-provided default values. However, if you need to adjust success rates for your company, editing the success rate will cause the system to automatically recalculate the initial Prior α, β.
- Signal Master: Recommended to use system-provided default values
- Customer Master: Register customer companies
- Contact Master: Register main contacts for each customer
- Project Master: Register projects (new deals) and edit Bayesian parameters if needed
- Activity (Meeting): Record sales meeting activities
- Analysis: Check Bayesian success probabilities and analysis per project
- Auto Tuner: Review system parameter auto-learning results based on closed project data, gain insights, and decide whether to apply recommended parameters